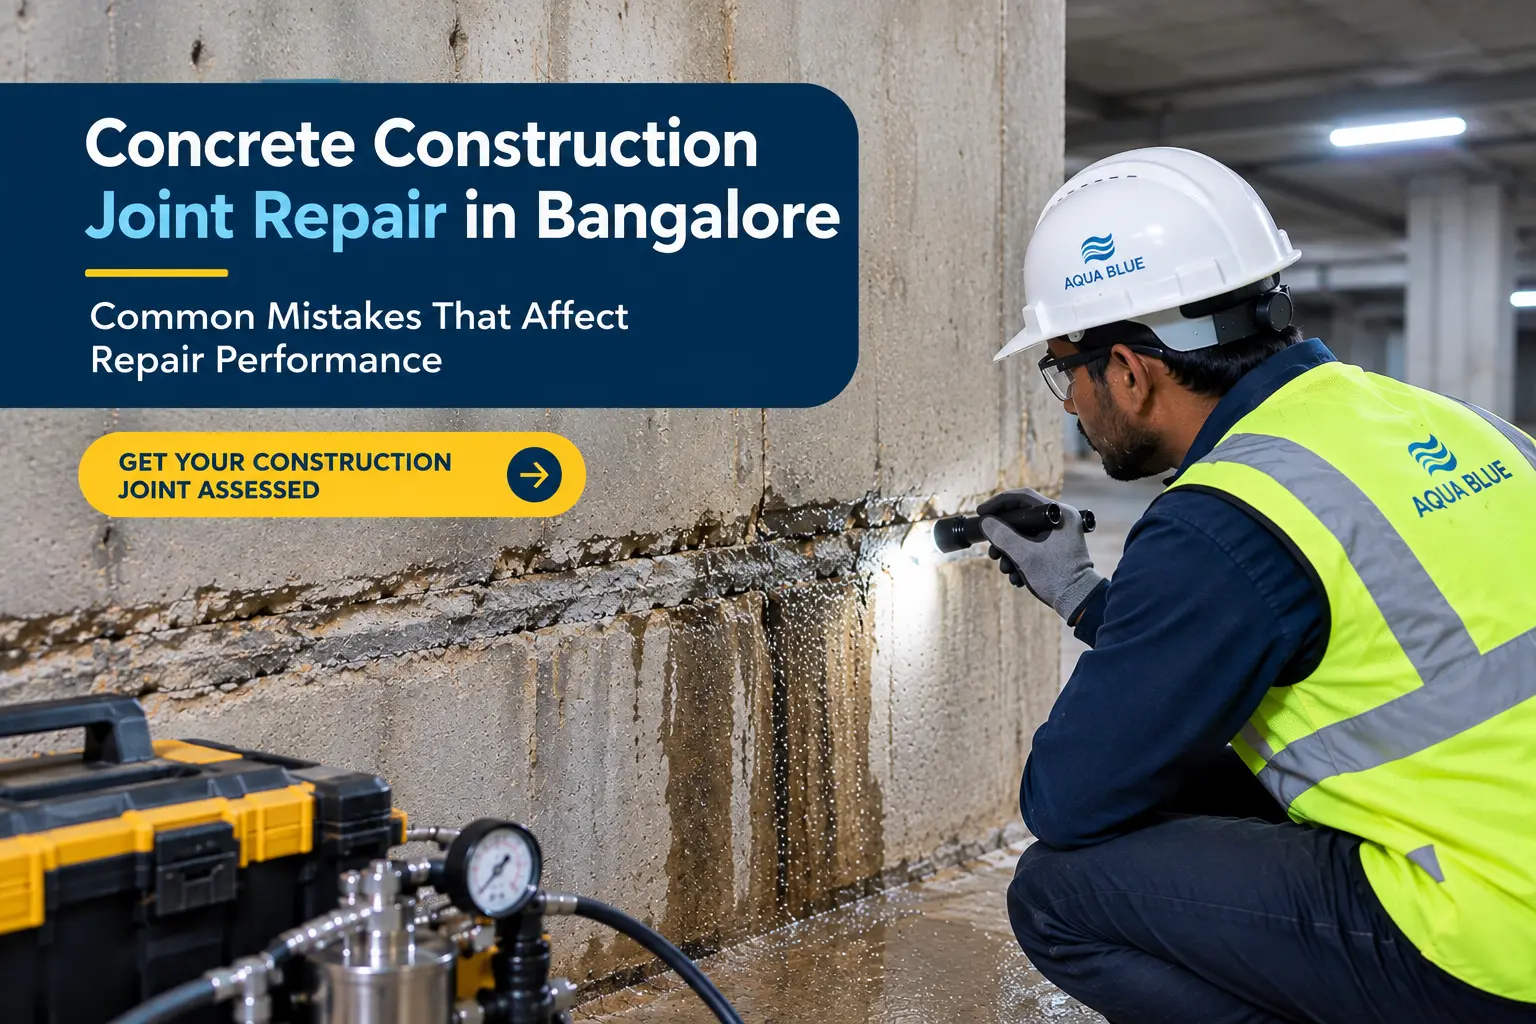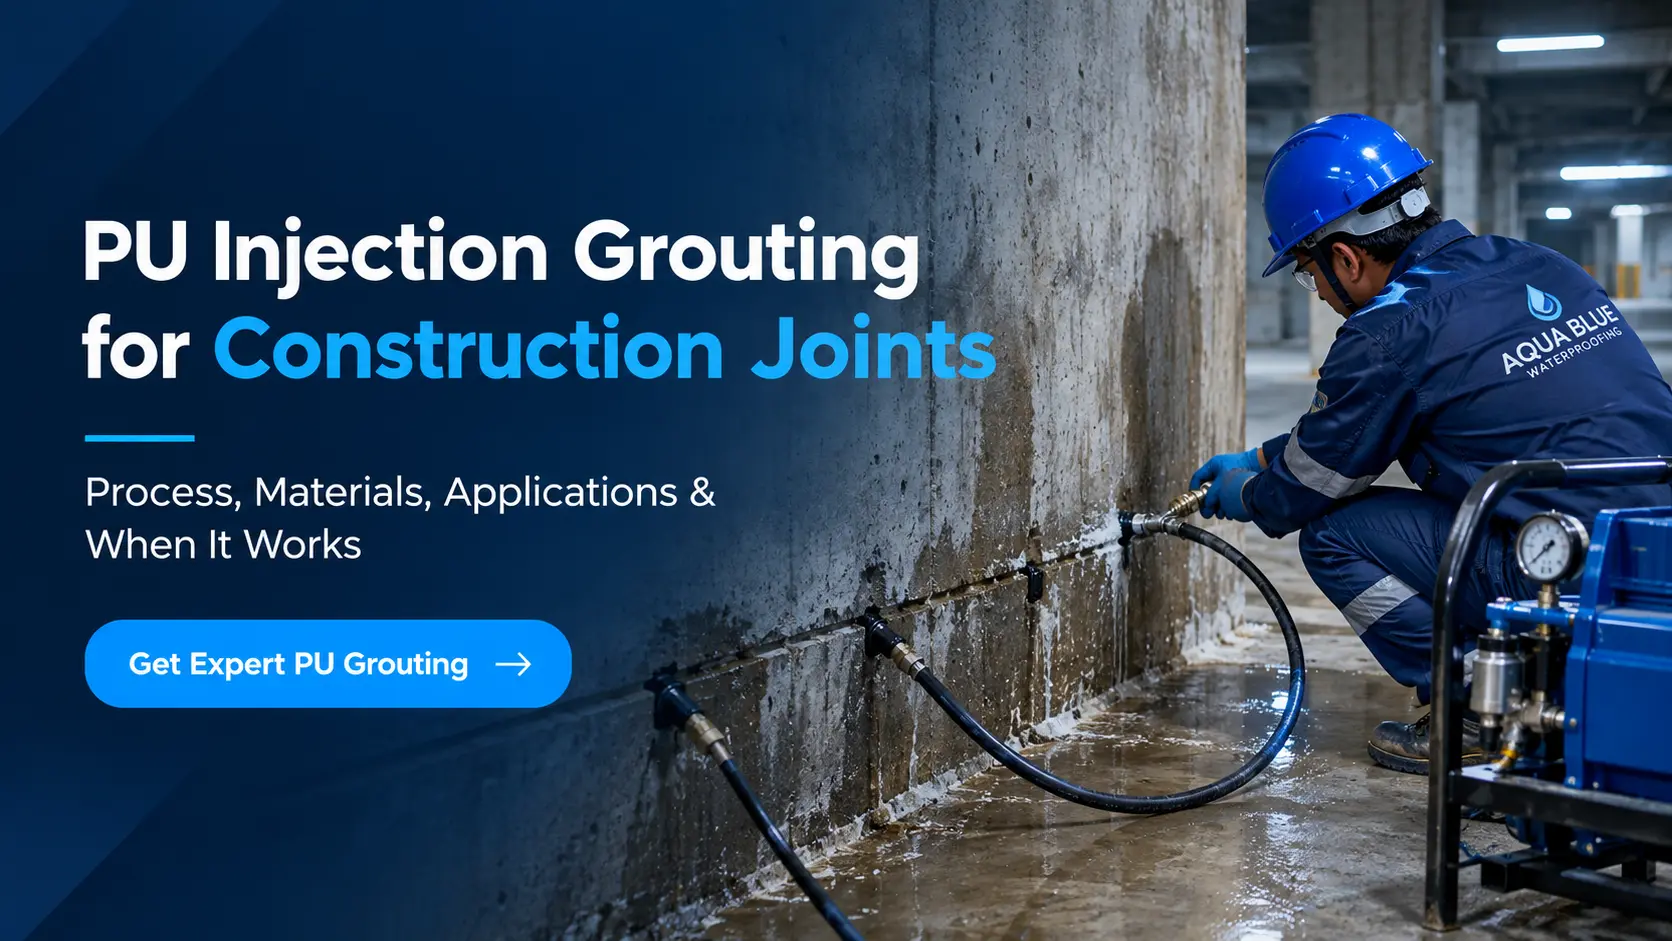
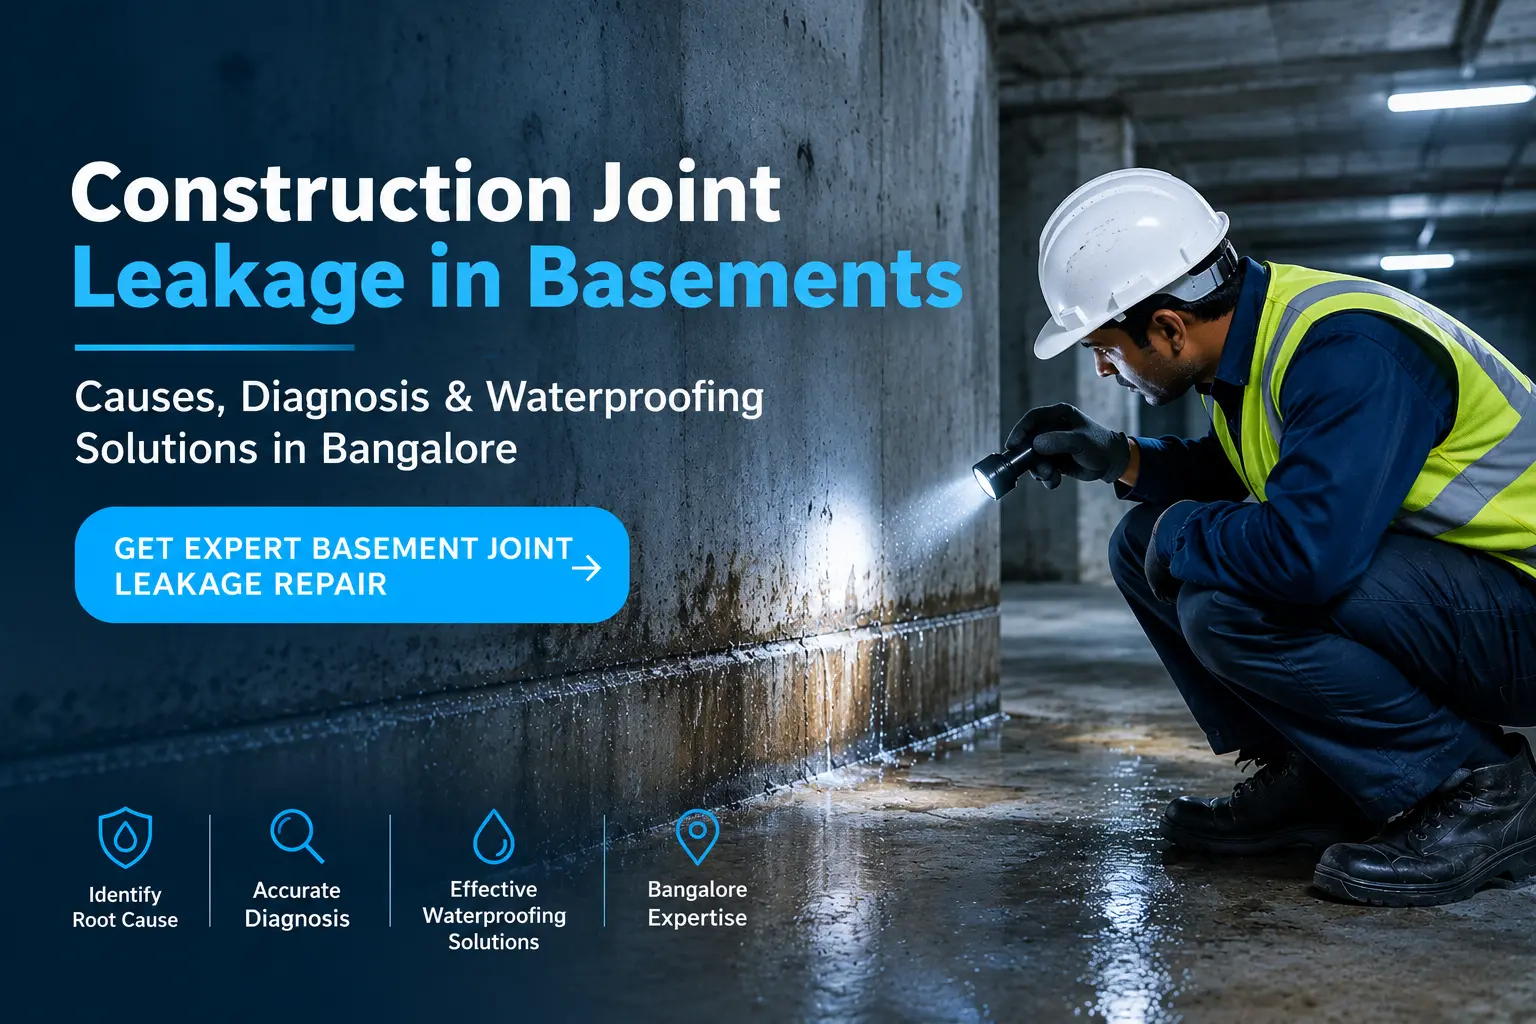
Persistent water seepage through below-grade construction joints can destabilize structural elements, damage stored goods, and compromise basement utility in commercial and residential developments. In urban hubs like Bangalore, high hydrostatic pressure from seasonal monsoons and perched water tables forces water into microscopic cold joint seams. Resolving this issue permanently requires precise internal pathway diagnosis, appropriate material selection, and site-specific waterproofing execution.
At Aqua Blue Waterproofing, we diagnose deep-seated concrete cold joint failures and deploy specialized waterproofing solutions across multi-level residential basements, IT park parking facilities, and commercial complexes in Bangalore. This comprehensive guide covers cold joint vulnerabilities, diagnostic protocols, chemical waterproofing options, and preventive construction standards.
Need an urgent site inspection for basement or joint leakage in Bangalore?
📞 Call Aqua Blue Waterproofing Experts: 88920 26121
Table of Contents
- Why Construction Joints Become Leakage Points in Basements
- Why Do Construction Joints Leak in Basements?
- What Causes Basement Construction Joint Leakage?
- How to Identify Construction Joint Leakage in a Basement
- Signs of a Leaking Construction Joint in a Basement
- How to Diagnose the Source of Basement Water Leakage
- What Is the Best Waterproofing for Basement Construction Joints?
- How to Seal Basement Construction Joints
- Construction Joint Leakage Repair Process in Bangalore
- Why Basement Joint Leakage Can Return After Repair
- How to Prevent Construction Joint Leakage in New Basements
- Construction Joint Leakage in Bangalore: Local Conditions to Consider
- What to Check Before Hiring a Basement Joint Waterproofing Contractor
- FAQs About Construction Joint Leakage in Basements
- Construction Joint Leakage Repair in Bangalore
Why Construction Joints Become Leakage Points in Basements
Water leakage through basement joints is one of the most common issues in underground concrete structures. A construction joint (or cold joint) is an intentional break created when fresh concrete is poured against a previously hardened concrete lift. Because the two concrete lifts do not form a continuous chemical or physical bond, a microscopic interface remains between them.
Subterranean water seepage typically occurs along these cold joints due to surrounding soil saturation and groundwater head pressure. Hydrostatic pressure continuously pushes groundwater against below-grade basement retaining walls and raft slabs. Water bypasses solid, dense concrete by finding paths of least resistance, such as cold joints, honeycombed aggregates, and structural micro-fissures.
Effective basement waterproofing in Bangalore requires tracing the entry path of water rather than simply applying a surface patch over visible moisture. Surface coatings applied to the interior face often fail under negative hydrostatic pressure if the internal joint cavity remains unsealed. Identifying whether water originates from a cold joint, tie-rod hole, or porous concrete matrix ensures the correct waterproofing treatment is selected for long-term protection.
Why Do Construction Joints Leak in Basements?
Understanding why construction joints leak requires examining both physical site stresses and concrete placement practices.
Hydrostatic Pressure From Groundwater
Groundwater surrounding below-grade basement walls exerts continuous lateral and vertical pressure against the structure. As rain saturates the surrounding soil, the water table rises, increasing hydrostatic head pressure. This force drives water through tiny capillary networks within the cold joint interface.
Poor Construction Joint Preparation
Proper surface preparation is crucial before pouring adjacent concrete lifts. Common jobsite errors include:
- Concrete Laitance: A weak, milky layer of cement and fine particles that forms on top of a concrete lift, preventing strong bonding with the next pour.
- Accumulated Dust and Debris: Construction debris, sawdust, or soil left on the joint interface before the second pour creates interconnected pathways for water.
- Inadequate Surface Roughness: Smooth, un-roughened joint faces lack mechanical interlock, weakening the cold joint boundary.
Missing or Damaged Waterstop Systems
In subterranean concrete construction, physical barriers called waterstops are placed inside the joint prior to pouring. Joint leakage often traces back to missing or compromised waterstop systems:
- PVC Waterbars: Can bend, fold, or displace during heavy concrete vibration, leaving unsealed gaps.
- Hydrophilic Waterstops: Swellable strip sealants that expand on contact with moisture. If exposed to rain before the second concrete pour, they pre-swell and lose their sealing capacity.
- Injection Hose Systems: Perforated hoses embedded along joints that remain un-grouted or get crushed during concrete placement.
Concrete Shrinkage and Joint Deterioration
As concrete cures, hydration and thermal cooling cause volume contraction. Drying shrinkage pulls adjacent pours slightly apart, widening the cold joint interface into a micro-fissure capable of passing water under pressure.
Movement Between Concrete Sections
Differential foundation settlement, soil compaction variations, and thermal expansion create micro-movements between structural wall lifts and raft slabs. Rigid surface repairs crack under this movement, reopening water entry paths.
Failed Previous Waterproofing or Joint Repairs
Temporary fixes—such as patching joints with standard cement mortar, applying non-flexible surface renders, or smearing topical silicone sealants—fail under negative hydrostatic pressure. Water eventually pushes through or bypasses these surface barriers.
What Causes Basement Construction Joint Leakage?
| Cause | How It Can Lead to Leakage |
|---|---|
| Hydrostatic pressure | Pushes water toward vulnerable joint areas under sustained subterranean head. |
| Poor joint preparation | Creates pathways through the concrete interface due to laitance and debris. |
| Damaged waterstop | Allows water to bypass the intended physical barrier within the concrete mass. |
| Joint movement | Stresses rigid sealing materials, causing cracking and bond line separation. |
| Concrete honeycombing | Creates connected voids and pathways adjacent to the construction joint. |
| Failed sealant | Allows water to enter through the joint face due to loss of adhesion or elasticity. |
| Poor drainage | Increases water pressure around the structure by trapping groundwater against walls. |
| Aging waterproofing | Reduces protection over time as external membranes degrade or shift. |
How to Identify Construction Joint Leakage in a Basement
Identifying the precise leak location prevents unnecessary structural hacking and misdirected repairs.
Check Where Water Is Appearing
Inspect high-risk structural interfaces across the basement layout:
- Wall-to-Floor Junctions: The kick-off joint where vertical retaining walls meet horizontal raft slabs.
- Basement Slab Joints: Sequential pour lines across large basement floor slabs.
- Retaining Wall Joints: Horizontal lift lines between vertical concrete pours.
- Vertical Construction Joints: Pour breaks between adjacent retaining wall panels.
- Concrete Wall Interfaces: Transitions between main structural concrete and brick or block infill.
Check Whether Leakage Follows the Joint Line
Water originating from a cold joint typically forms a distinct damp trail along the linear seam of the pour, rather than spreading out as an isolated round wet patch in the middle of a slab.
Look for Active Water Seepage
Observe if moisture is static or actively trickling. Active seepage indicates direct hydrostatic connectivity to surrounding saturated soil or an elevated water table.
Look for Efflorescence and Moisture Marks
As groundwater migrates through concrete, it dissolves free lime and mineral salts. When water evaporates at the basement face, it leaves behind a white, powdery crystalline deposit known as efflorescence, along with dark damp stains along the joint line.
Check Whether Leakage Gets Worse After Heavy Rain
Monitor seepage patterns relative to weather events. A sharp increase in flow rate within hours of heavy rainfall confirms a direct connection to surface runoff and rising perched water tables.
Inspect Previous Repair Work
Examine the joint line for old repair materials, such as cracked epoxy pastes, peeling elastomeric coatings, popped cementitious mortars, or previous injection ports (packers). Failing past repairs often indicate unaddressed internal water pressure.
Signs of a Leaking Construction Joint in a Basement
- Visible water droplets or active trickling streams running down the joint line.
- Continuous or intermittent dampness confined along linear pour boundaries.
- Thick white efflorescence deposits tracking the joint line.
- Recurring wet patches on basement floors adjacent to wall-to-floor junctions.
- Peeling, blistering, or delaminating interior paint and wall renderings.
- Musty odors, localized mold growth, and high humidity in unventilated basement zones.
- Noticeable increase in water accumulation following local rainstorms.
- Concrete flaking, surface spalling, or rust staining from corroded internal rebar near the joint.
How to Diagnose the Source of Basement Water Leakage
Proper diagnosis must precede any waterproofing treatment. A systematic diagnostic approach prevents treating symptoms while ignoring the true point of ingress.
Step 1 — Map the Visible Leakage
Mark all active seepage lines, damp patches, and efflorescence trails using moisture meters or visual tagging to document the full scope of internal water ingress.
Step 2 — Determine Whether the Construction Joint Is the Actual Entry Point
Water appearing near a joint does not automatically mean the joint itself is the source. Groundwater can enter through a different entry point, travel internally along rebar channels or honeycombed concrete, and exit at the joint line.
Common Alternative Pathways:
- Structural Concrete Cracks: Dynamic or settlement cracks near cold joints.
- Honeycombing: Poorly consolidated concrete with interconnected air voids.
- Pipe Penetrations: Unsealed utility sleeves, drainage pipes, or electrical conduits.
- Slab Defects: Micro-fissures within the main raft slab matrix.
- Tie-Rod Holes: Unsealed structural formwork tie-rod sleeves in retaining walls.
- Failed Positive-Side Membrane: Exterior membrane breaches allowing water to migrate laterally behind the wall.
+------------------------------------------------------------------------------------+
|                         LEAKAGE DIAGNOSIS FLOWCHART                                |
|                                                                                    |
|  [Visible Moisture] ---> [Map Damp/Wet Lines] ---> [Trace Entry Path to Source]     |
|                                                                 |                  |
|                                                                 v                  |
|  [Differentiate: Cold Joint vs. Honeycombing vs. Tie-Rod vs. Structural Crack]     |
|                                                                 |                  |
|                                                                 v                  |
|  [Measure Hydrostatic Pressure] ---> [Select Negative/Positive Treatment]          |
+------------------------------------------------------------------------------------+
Step 3 — Assess Water Pressure and Leakage Severity
Classify the leak intensity:
- Dampness / Capillary Seepage: Slow moisture transfer without running water.
- Low-Pressure Seepage: Intermittent water droplets or slow trickling.
- High-Pressure Active Flow: Continuous gushing water driven by strong hydrostatic pressure.
Step 4 — Inspect the Concrete and Joint Condition
Sound the concrete around the joint with a hammer to check for hollow areas, delamination, or structural decay. Weak or soft concrete must be chipped away to reach a sound substrate before applying high-pressure injection or repair mortars.
Step 5 — Check Existing Waterproofing and Previous Repairs
Evaluate existing interior and exterior waterproofing systems to identify material incompatibilities or structural bond failures.
Step 6 — Select the Appropriate Repair System
Match the diagnosis to the repair method. Dynamic joints with active movement require elastic sealants or flexible injection resins, whereas static cold joints with high-pressure leaks require fast-expanding polyurethane injection foams.
What Is the Best Waterproofing for Basement Construction Joints?
Direct Answer: There is no single waterproofing method suitable for every leaking basement construction joint. The appropriate system depends on the leakage condition, joint movement, concrete soundness, hydrostatic pressure, site accessibility, and existing waterproofing details.
PU Injection Grouting
Polyurethane (PU) injection grouting pumps liquid resin under pressure into internal joint cavities. The resin reacts with water to expand into a closed-cell foam or flexible elastomer, sealing internal pathways.
- Best Suited For: Active water leaks, high hydrostatic pressure, and non-destructive repairs from inside the basement.
Joint Sealants
High-performance elastomeric sealants (such as polyurethane or polysulfide sealants) are applied into chased joint channels on accessible concrete surfaces.
- Best Suited For: Accessible surface joint channels with minor movement, post-injection surface profiling, and secondary seal protection.
Waterstop Systems
Physical barriers (PVC waterbars, bentonite strips, or swellable hydrophilic polymers) embedded inside the concrete element during construction.
- Best Suited For: Preventive detailing during new construction. Retrofitting waterstops in existing structures requires structural demolition.
Injection Hose Systems
Perforated hoses placed along cold joint lines prior to pouring concrete, enabling localized chemical grouting if leaks develop later.
- Best Suited For: Pre-planned joint management in critical below-grade structures.
Flexible Joint Waterproofing Systems
Combination systems utilizing hypalon-based elastomeric tapes bonded over joint lines with epoxy adhesive.
- Best Suited For: Joints subjected to structural expansion, contraction, or seismic movement where rigid repair mortars would fail.
Cementitious Waterproofing Treatments
Polymer-modified cementitious slurries or active crystalline waterproofing coatings applied to sound concrete surfaces.
- Best Suited For: Static dampness, secondary surface protection, and new construction damp-proofing. Crystalline treatments penetrate concrete pores to form insoluble crystals, but cannot bridge active dynamic joint movements.
How to Seal Basement Construction Joints
Sealing strategies differ fundamentally between new construction and existing leak repairs.
Sealing Construction Joints During New Basement Construction
- Joint Planning: Position cold joints at areas of minimum shear force per structural engineering drawings.
- Waterstop Installation: Fix PVC waterbars or swellable hydrophilic waterstop strips along the joint midpoint before pouring concrete.
- Surface Preparation: Remove laitance using wire brushing, high-pressure water blasting, or mechanical scabbing once concrete reaches initial set.
- Concrete Placement: Ensure proper compaction and vibration around joint lines to eliminate honeycombing and air pockets.
- Waterproofing Integration: Extend primary exterior waterproofing membranes continuously over exterior joint faces.
- Quality Inspection: Verify joint cleanliness and waterstop placement prior to pouring adjacent lifts.
Treating an Existing Leaking Basement Construction Joint
- Leakage Inspection: Map moisture distribution and measure water flow rates.
- Source Identification: Confirm water entry path and rule out adjacent pipe leaks or slab cracks.
- Joint & Concrete Assessment: Sound surrounding concrete to confirm structural strength.
- Surface Preparation: Open the joint channel in a V-groove or U-channel profile, cleaning out loose debris and failed past mortars.
- Selection of Treatment: Choose appropriate flexible sealants, crystalline mortars, or high-pressure injection grouts based on flow condition.
- Sealing / Injection Treatment: Execute internal cavity filling or surface channel sealing under controlled conditions.
- Finishing: Seal repair channels flush with polymer-modified non-shrink repair mortar.
- Post-Repair Inspection: Monitor the joint line under active groundwater head pressure to verify performance.
Construction Joint Leakage Repair Process in Bangalore
Executing a professional joint repair in urban basement structures requires a methodical site workflow:
+-----------------------------------------------------------------------------------+
|                         PROFESSIONAL SITE WORKFLOW                                |
|                                                                                   |
|  [1. Site Inspection] --------> [2. Leakage Mapping] ------> [3. Joint Assessment]|
|                                                                        |          |
|  [6. Joint Preparation] <------- [5. System Selection] <----- [4. Path Tracing]   |
|          |                                                                        |
|          v                                                                        |
|  [7. Injection / Sealing] ----> [8. Post-Inspection] -------> [9. Recommendations]|
+-----------------------------------------------------------------------------------+
- Site Inspection: Evaluate the affected basement zone, noting structural layouts, depth below grade, and surrounding soil conditions.
- Leakage Mapping: Mark active leakage paths, moisture stain boundaries, and water ingress points along the joint line.
- Joint & Concrete Assessment: Test concrete soundness using non-destructive rebound hammers or ultrasonic pulse testing where required.
- Identification of Water Entry Path: Trace whether water is passing directly through the cold joint or migrating from adjacent structural features.
- Waterproofing System Selection: Select hydrophobic/hydrophilic resins, crystalline mortars, or elastomeric band systems based on site conditions.
- Joint Preparation & Repair: Open surface channels, remove loose concrete, and install injection ports at a 45-degree angle to intersect the cold joint mid-depth.
- Waterproofing / Injection Treatment: Inject selected PU resin or apply specialized sealants under controlled pressure until complete void saturation is achieved.
- Post-Treatment Inspection: Monitor the joint line under active groundwater head pressure to verify leak elimination.
- Preventive Recommendations: Provide facility managers with guidance on monitoring sumps, maintaining drainage pumps, and managing surrounding runoff.
Why Basement Joint Leakage Can Return After Repair
Water seepage can recur if repairs focus solely on surface symptoms rather than structural dynamics:
- Wrong Leakage Source Identified: Sealing a cold joint while ignoring an adjacent unsealed tie-rod hole allows water to quickly find an exit path nearby.
- Hydrostatic Pressure Not Addressed: High groundwater pressure continues pushing against surrounding concrete, finding unsealed capillary paths.
- Incorrect Material Selection: Using rigid epoxy or cement mortar in a dynamic, moving joint causes bond line failure as the joint expands and contracts.
- Poor Substrate Preparation: Applying repair mortars over dusty, oily, or laitance-covered joint channels causes early delamination.
- Incomplete Internal Injection: Low injection pressure or improper packer spacing leaves internal air pockets unsealed, allowing water to pass through.
- Neglected Drainage: Inoperable basement sumps or clogged perimeter drain pipes elevate local hydrostatic head pressure against the joint line.
- Treating Symptoms Instead of Pathways: Applying interior cosmetic renders over active leaks without sealing the internal void matrix guarantees future coating breakdown.
How to Prevent Construction Joint Leakage in New Basements
Preventing cold joint leakage during initial construction is significantly more cost-effective than executing post-construction subterranean repairs.
Plan Construction Joints Correctly
Design joint locations strategically per structural drawings, avoiding areas of maximum shear or bending stress. Keep the total number of construction cold joints to a minimum.
Use Appropriate Waterstop Systems
Install continuous PVC waterbars, swellable hydrophilic strips, or re-injectable grouting hoses centrally along all planned horizontal and vertical construction joints. Ensure proper lap splicing at intersections.
Maintain Proper Concrete Placement Practices
Vibrate fresh concrete thoroughly around joint lines and embedded waterstops to eliminate honeycombing, air pockets, and consolidation voids.
Prepare Joint Interfaces Correctly
Roughen hardened concrete joint surfaces and clean away all laitance, loose aggregates, dust, and standing water before placing adjacent concrete lifts.
Integrate Waterproofing With Joint Details
Overlap positive-side exterior waterproofing membranes continuously across exterior joint faces, backed by protective drainage boards.
Provide Suitable Drainage
Install continuous sub-soil drainage lines, gravel filter beds, and sump pump systems around the basement perimeter to relieve hydrostatic head pressure.
Inspect Before Backfilling
Conduct thorough quality inspections of exterior waterproofing membranes and joint seals before backfilling perimeter soil.
Construction Joint Leakage in Bangalore: Local Conditions to Consider
Subterranean waterproofing in Bangalore involves unique geographical and architectural challenges:
Bangalore's Monsoon and Heavy Rainfall
Bangalore experiences heavy precipitation during the Southwest and Northeast monsoons. Rapid rain accumulation saturates surrounding soil, creating temporary perched water tables that exert strong hydrostatic pressure on multi-level basement structures.
Groundwater and Hydrostatic Pressure
Regions like Whitefield, Electronic City, Koramangala, Bellandur, and Hebbal feature varying soil profiles—from hard clay to soft, water-retaining red soil near lake belts. High soil water retention maintains long-term hydrostatic pressure against basement retaining walls and raft slabs long after monsoons end.
Apartment and Commercial Basement Structures
Modern urban developments across Bangalore utilize deep multi-level basements (B1, B2, B3) for tenant parking, EV charging hubs, and utility plant rooms.
- Apartment Parking Basements: Seepage ruins vehicle paint finishes via mineral-rich calcite drippings.
- Commercial & Office Buildings: High foot-traffic and operational requirements demand non-destructive, internal repair solutions without structural excavation.
- Underground Utility Areas: Water ingress near electrical main panels, DG sets, and HVAC equipment creates operational hazards.
Existing Buildings vs New Construction
In built-up Bangalore neighborhoods, adjacent properties and backfilled soil make exterior (positive-side) excavation impossible. In these cases, internal high-pressure PU injection grouting provides an effective negative-side repair method.
What to Check Before Hiring a Basement Joint Waterproofing Contractor
Evaluating contractor qualifications ensures a durable repair and avoids repeat failures:
- Diagnostic Approach: Does the contractor inspect and map the actual water entry source before proposing a material?
- Joint Identification: Can they distinguish between a cold joint, a structural crack, and concrete honeycombing?
- Substrate Assessment: Do they evaluate concrete compressive strength and soundness before high-pressure injection?
- Pressure Evaluation: Do they measure water flow rates and hydrostatic pressure conditions?
- Material Justification: Do they explain why a specific resin (hydrophobic vs. hydrophilic) or mortar is recommended for your site?
- Structural Distinction: Do they clearly separate non-structural waterproofing repairs from structural epoxy bonding?
- Preparation Scope: Do they include mechanical channel chasing, laitance removal, and substrate cleaning in their written scope?
- Clear Scope of Work: Is the written proposal explicit regarding packer spacing, drill angles, material specifications, and surface finishing?
- Post-Repair Verification: Do they conduct post-repair water monitoring to verify seal performance under pressure?
- Warranty Clarity: Is a clear, written warranty provided that details coverage terms and post-service technical support?
Frequently Asked Questions
Q1: Why do construction joints leak in basements?
Ans: Construction joints leak because fresh concrete poured against hardened concrete creates a physical seam. Hydrostatic groundwater pressure pushes water through this weak interface, especially if laitance, debris, or displaced waterstops are present.
Q2: How can I identify construction joint leakage in a basement?
Ans: Look for linear damp stains, white efflorescence, or active water trickling along the seam where walls meet floors or between separate concrete pours.
Q3: What causes water to enter through basement construction joints?
Ans: Water entry is caused by elevated groundwater hydrostatic pressure, poor joint surface preparation, missing or displaced waterstops, concrete shrinkage micro-fissures, and failed past surface coatings.
Q4: What is the best waterproofing for basement construction joints?
Ans: There is no single best method. Active leaks under hydrostatic pressure are best treated with high-pressure PU injection grouting, while accessible joints with minor movement require elastomeric sealants or combination tape systems.
Q5: Can construction joint leakage be repaired from inside the basement?
Ans: Yes. High-pressure polyurethane (PU) injection grouting acts as an effective negative-side repair method, filling internal joint cavities directly from inside the basement without requiring exterior excavation.
Q6: How do you seal a leaking basement construction joint?
Ans: Small static leaks can be opened, cleaned, and sealed using non-shrink polymer repair mortars and surface elastomeric sealants. Active or high-pressure leaks require high-pressure PU injection grouting through mechanical packers.
Q7: Can PU injection stop active water leakage through a construction joint?
Ans: Yes. Water-reactive polyurethane resins use present moisture as a catalyst, expanding into a dense closed-cell foam or elastic gel that stops active water flow within seconds.
Q8: How long does basement joint waterproofing last?
Ans: When executed using high-grade resins or elastomeric systems applied to sound concrete, a professional joint repair can last for decades, matching the operational service life of the surrounding structure.
Q9: Can construction joint leakage cause structural problems?
Ans: Persistent water ingress can cause corrosion of internal steel reinforcement, concrete spalling, and long-term degradation of structural concrete elements if left unaddressed.
Q10: Why does basement joint leakage return after repair?
Ans: Leakage returns when repairs rely on rigid surface mortars over dynamic joints, when low injection pressure leaves internal voids unsealed, or when the true water entry path was misdiagnosed.
Construction Joint Leakage Repair in Bangalore
Effective construction joint repair requires a clear sequence:
Leakage Inspection → Source Diagnosis → System Selection → Precision Repair → Post-Treatment Verification
Experiencing water leakage through a construction joint in your basement? Aqua Blue Waterproofing assesses affected subterranean structures, identifies precise water entry pathways, and executes tailored waterproofing or injection treatments based on site-specific engineering conditions.
Explore Our Specialized Waterproofing Services:
- Basement Waterproofing Services — Comprehensive internal and external subterranean water management.
- Construction Joint Waterproofing — Precision surface sealants, swellable waterstops, and hypalon banding systems.
- PU Injection Grouting for Construction Joints — High-pressure polyurethane injection for active water shut-off.
📞 Contact Our Technical Waterproofing Specialists:
Phone: 88920 26121
Email: info@waterproofingcontractorsbangalore.com
Conclusion & Key Takeaways
- Understand Cold Joint Vulnerabilities: Construction joints are inherent seams in concrete structures that require intentional detailing to resist hydrostatic pressure.
- Prioritize Internal Pathway Diagnosis: Always trace the internal water entry path before selecting a repair material—never rely on surface-level cosmetic patching.
- Match Material to Site Conditions: Use fast-expanding hydrophobic PU foams for active water shut-off, and elastic PU resins or hypalon bands for dynamic, moving joints.
- Implement Quality Standards in New Builds: Proper laitance removal, continuous waterstop placement, and thorough concrete vibration prevent future basement leakage.

PRAVEEN P is the Founder of Aqua Blue Waterproofing and a Waterproofing Technical Specialist with over 16 years of industry experience. Since establishing the company in 2014, he has helped homeowners and businesses across Bangalore solve leakage and seepage issues through reliable, long-lasting waterproofing solutions and expert guidance.